
I’ll give you some of my top tips for using red light therapy at home, including how to use red light and what to look for.
Hello friends! How are you doing? I hope you had a great weekend! Ours was full of fall fun and now we have a week of travel and more events ahead of us. Fall chaos is in full swing, but I’m loving it.
When things are crazy, I try to stick as closely as possible to the pillars of my routine: daily walks, strength training a few times a week, meditation, hydration, nutrition, and my favorite biohacking tools like red light.
If you’ve been hanging around here for a while, you know that I’m a big fan of wellness tools. Between mom life, work, and training, anything that makes rest, energy, and skin health easier (and more convenient) is a win.
One of the tools that has been completely game-changing for me is red light therapy.
It’s one of those things that almost seems too good to be true – glowing skin, less inflammation, better rest, deeper sleep – but the research behind it is pretty incredible. Today I wanted to talk about what to look for in a red light device, how to use it effectively, and the pros and cons of at-home red light therapy (plus two of my favorite brands: Higher DOSAGE And Lumebox).
Red light therapy at home: device instructions and best application tips
What is red light therapy?
Red light therapy (also called low-level light therapy or photobiomodulation) uses specific wavelengths of red and near-infrared light to help your cells produce more energy (ATP).
Think of it this way: your skin and tissues have tiny receptors that absorb light, just as plants absorb sunlight. This energy increases the performance of your cells – improving blood circulation, supporting collagen production, reducing inflammation and even speeding up muscle recovery.
What to look for in a red light therapy device
Before you invest in a red light device for your home, it’s helpful to know what really matters.
Here’s what I recommend checking:
1. Wavelength range
Look for a device that offers both red light (around 660 nm) and near-infrared light (around 850 nm).
Red light supports skin health and superficial rejuvenation, while near-infrared light penetrates deeper into muscles and tissues to regenerate and support inflammation.
2. Power density (irradiance)
A good home device should deliver between 30 and 100 mW/cm² at some distance from your skin. This ensures you receive a therapeutic dose of light energy without long exposure times.
3. Treatment area
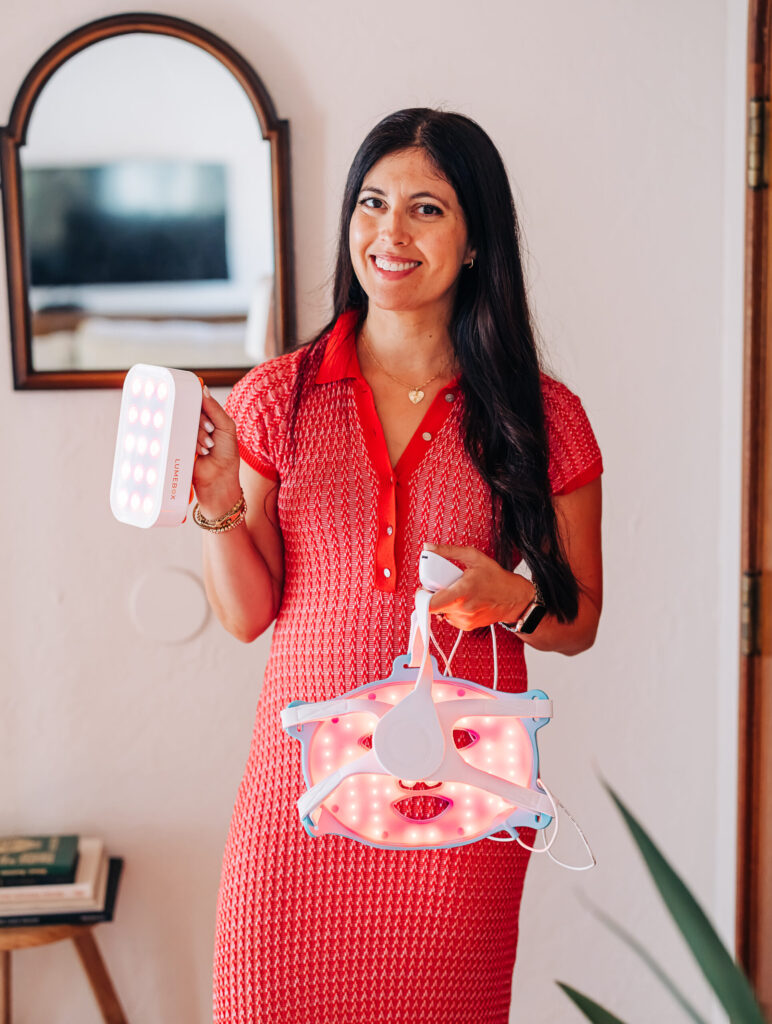
If you want to focus on your face or neck, a portable panel (like the Lumebox) is perfect.
If you want a full-body experience, a larger panel or case (like the HigherDOSE Red Light Blanket) will give you full coverage.
4. EMF levels
Always look for Low-EMF or Zero-EMF certification. Red light devices are generally safe, but since you’ll be using them close to your body, this is an important detail. Both HigherDOSE and Lumebox are designed for low EMF performance.
5. Ease of use
Make sure it’s something you’ll actually use.
The best device is the one that can be easily integrated into your everyday life – be it a 10-minute session of journaling or watching TV in the evening.
How to use red light therapy at home
How to get the best results from your red light therapy:
1. Be consistent
Aim for 10-20 minutes per session, 3-5 times per week.
As with most things in wellness, consistency trumps intensity; Your results build over time.
2. Depending on the device you are using, maintain a distance of 15 to 30 cm
Keep the light close, but not too close. You don’t need to touch the control panel; This distance allows light to penetrate effectively without creating excessive heat. You can set the Lumebox to the near-infrared setting to place it directly on the skin. I use it for back pain and sore muscles.
3. Target your goals specifically
For skin health: Focus on the face, neck and chest.
For muscle recovery: Try post-workout sessions on sore areas or legs.
For relaxation or sleeping: Use the red light in the evening – it can support melatonin production and improve sleep quality. You may find that it gives you a boost of energy; In this case, use it in the morning or when you feel like you need an energy boost.
4. Pair it with other recovery tools
You can combine the benefits by combining red light with magnesium baths, sauna sessions, or castor oil packs for a mini-spa experience at home (you know, I love this combination).
Pros and cons of red light therapy at home
Advantages
Practical: No spa visits or appointments – use it at home at any time.
Proven Benefits: May support skin health, muscle recovery, inflammation and mood.
Safe and non-invasive: No downtime or inconvenience.
Can be easily combined with other wellness routines: Fits seamlessly into your morning or evening routine.
Disadvantages
Upfront costs: Quality equipment can be expensive, but will pay for itself over time.
Consistency required: You won’t see results overnight; it is cumulative.
Size limitations: Smaller devices cover less surface area at once.
EMF considerations in red light therapy
Most high-quality red light devices have minimal electromagnetic field (EMF) output, but it’s still worth double-checking.
Prolonged exposure to EMF can cause stress and fatigue in sensitive individuals.
Here’s what I recommend:
Choose certified devices with a low EMF factor (e.g Higher DOSAGE And Lumebox).
Keep other electronic devices (like your phone or laptop) away during sessions.
My favorite devices
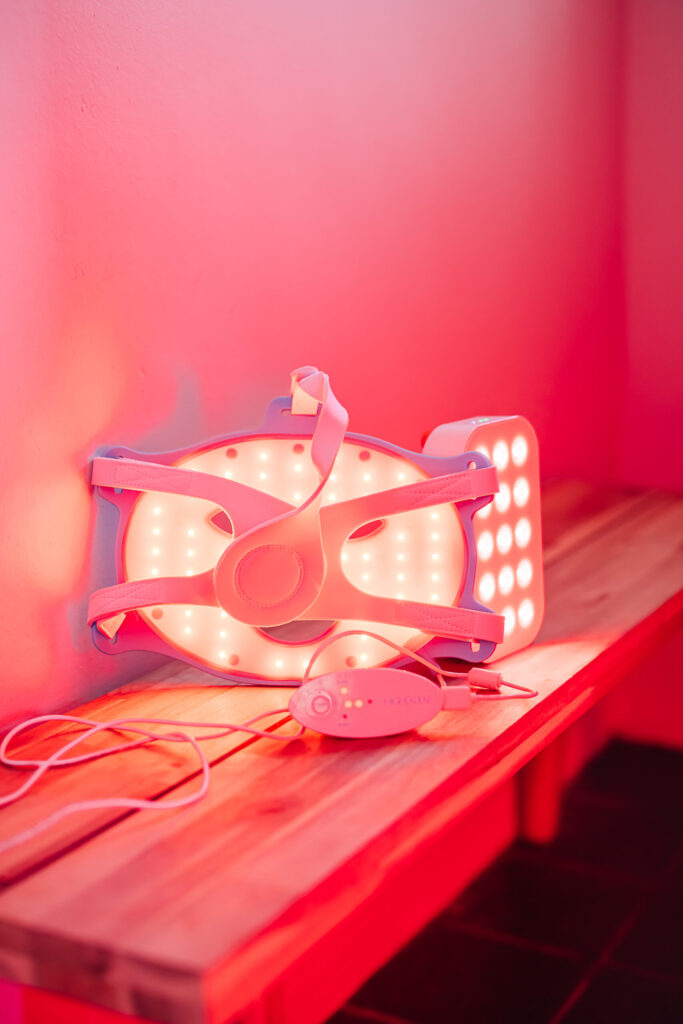
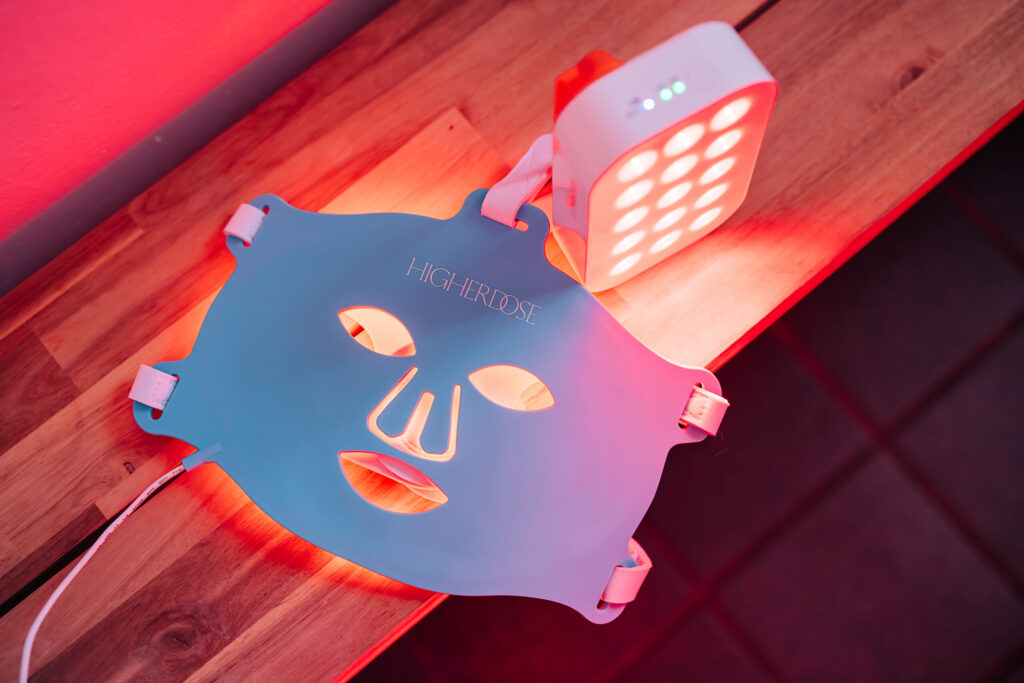
1. HigherDOSE red light favorites
If you love a cozy, full-body experience, this one can’t be beat. It combines infrared heat and red light therapy, enveloping you in warmth and helping your body detoxify, recover and relax. It is ideal for rest days, muscle recovery or nighttime relaxation.
I use it almost daily while doing household chores. I have noticed a huge difference in the quality and texture of my skin since I started using this!
I use it to promote hair health and growth! Bonus: It looks like a super cute baseball cap.
This is like an extension of the red light face mask, but for the neck. It’s super comfortable to wear and I’ve noticed that there are fewer plaid wrinkles.
Use code FITNESSISTA20 for 20% off yours HigherDOSE favorites.
2. Lumebox red light
Perfect for face, neck and chest sessions, this sleek, wearable panel fits easily into your routine. I love using it in the morning while drinking my coffee or in the evening before bed to quickly give my skin a new look and relax. I also use the near infrared setting for back pain, muscle pain or cramps.
It is low EMF, lightweight and super easy to transport.
Use FITNESSISTA for $260 off Lumebox here.
Red light therapy is one of the easiest, science-backed tools you can add to your wellness routine—especially if you’re focused on energy, skin health, inflammation, or recovery.
Ok friends: Do you love red light? What is one of your favorite at-home wellness tools?
xo
Gina